Python Network Automation for beginners
This post is intended for network engineers who wish to use python for network automation for the first time. Moreover, you could have a scenario where devices need to be configured or to collect data from multiple network devices, this would be a boring task of logging into each device and doing it manually. Therefore, this blog – Python network automation for beginners will guide you to set up a portfolio to start network automation.
3 Benefits of Python Network Automation:
- Improved work efficiency
- Reduced the likelihood of human error
- Meeting new Job demands
At this time, here I will explain each step on how a network engineer with no prior knowledge of programming can quickly and easily get started with python network automation.
Prerequisites
A PC with GNS3 and python installed
Steps:
- Installation of GNS3
- Importing IOS images to GNS3
- Setting the loopback interface on PC to access GNS3 network device
- Python3 Installation
- Mapping loopback adaptor to GNS3 router
- Importing netmiko
- Connecting python to gns3 router
- Running basic codes
Installation of GNS3
- Download GNS3 from – https://www.gns3.com/software/download
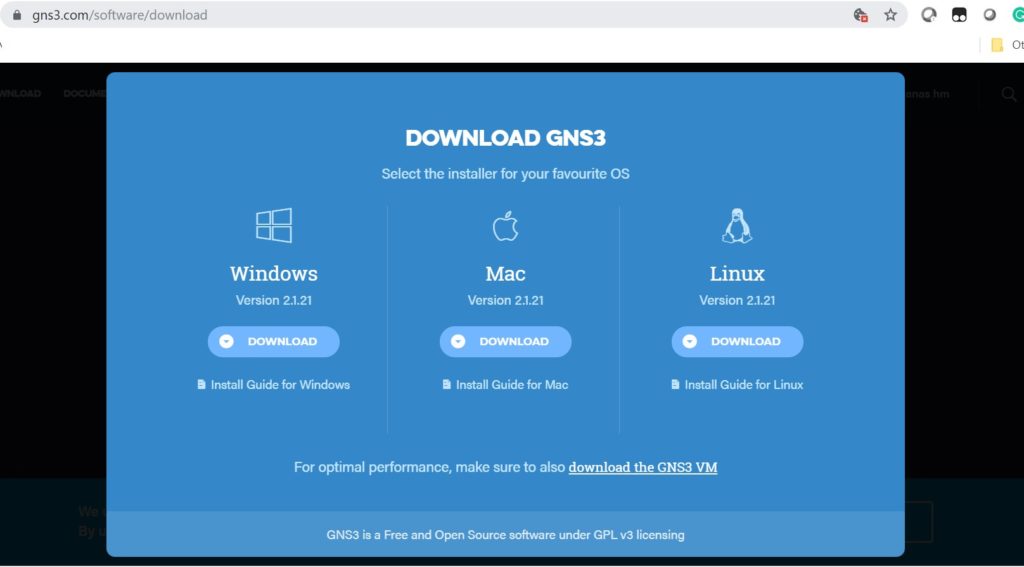
Download the appropriate file for your OS
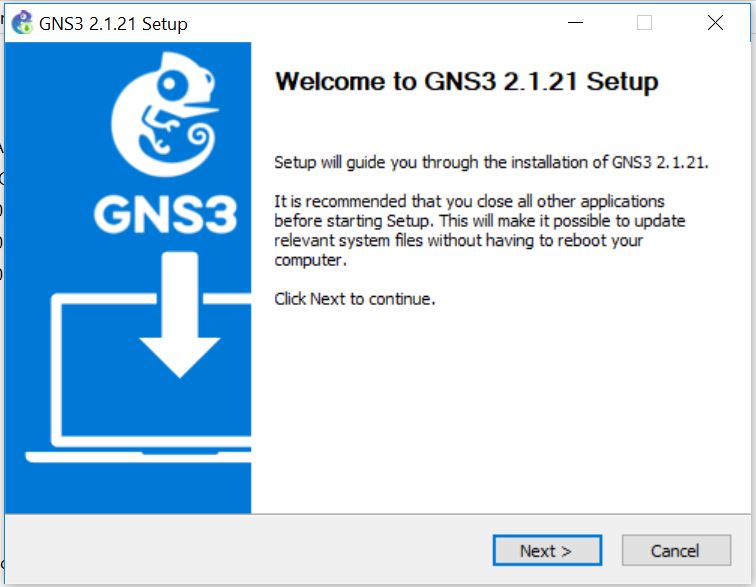
After that, proceed for the Next Step
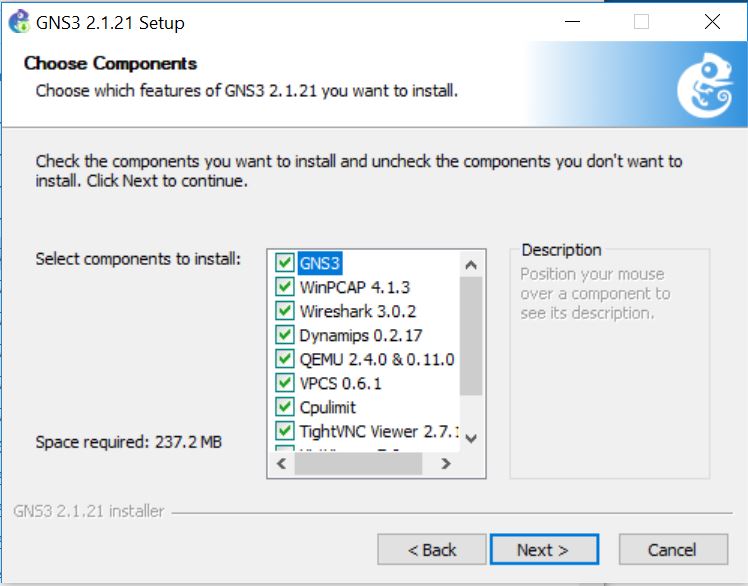
click on Next
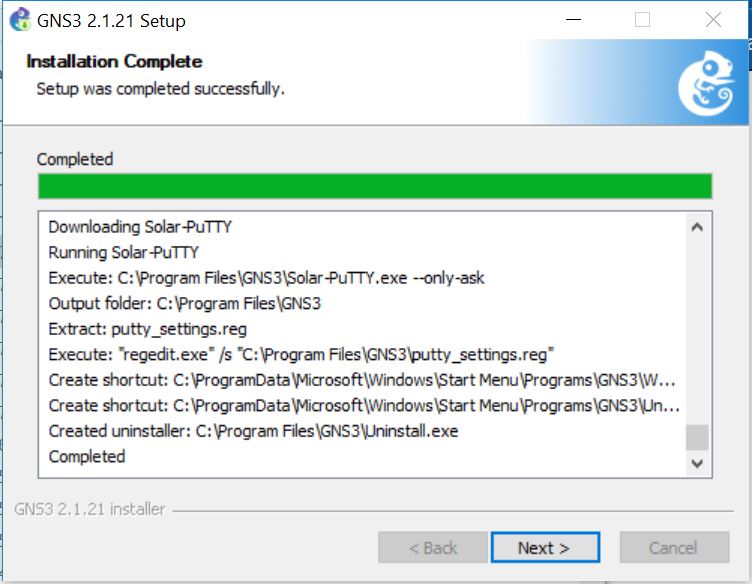
Please note, by this stage, installation is completed, now you can open the GNS3 and name your project.
However, by default, GNS3 doesn’t have any router instance so we have to add the router OS to GNS3.
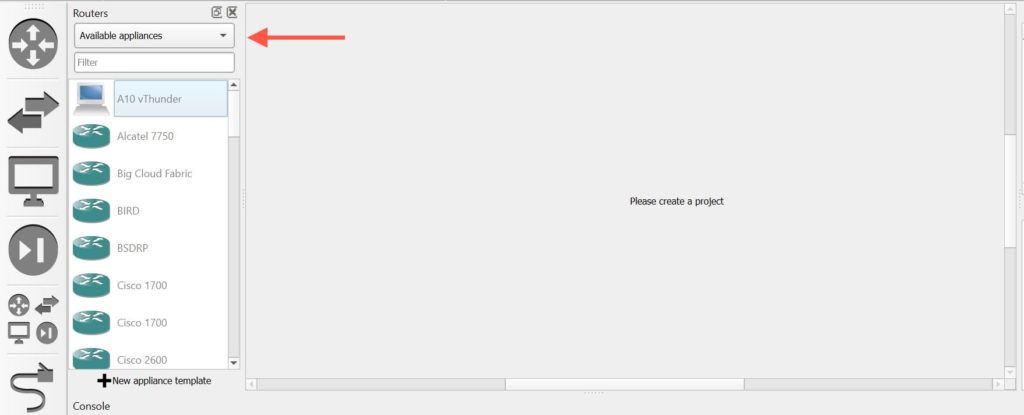
Importing router image to GNS3 appliance
Following, supported appliance models are listed in GNS3 as above, based on this you can get the images from the respective vendors or you can google and get it.
last but not least, I came across http://tfr.org/cisco which contains a collection of Cisco IOSs. Try this site if it works.
For instance, attaching IOS with the appliance model:
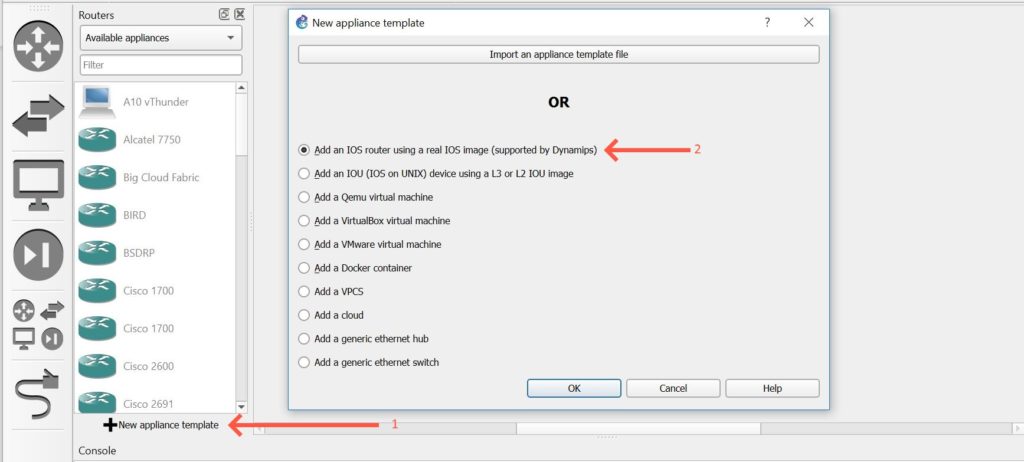
For example, select the New Image radio button and then browse the router image on the drive.
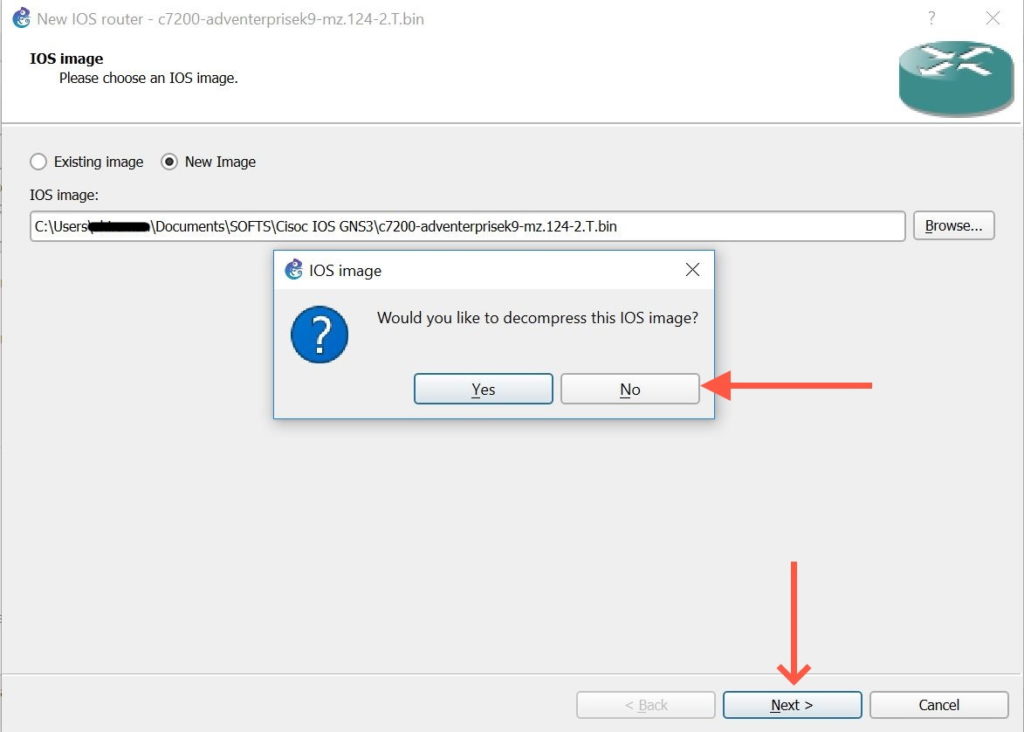
After that, click Next
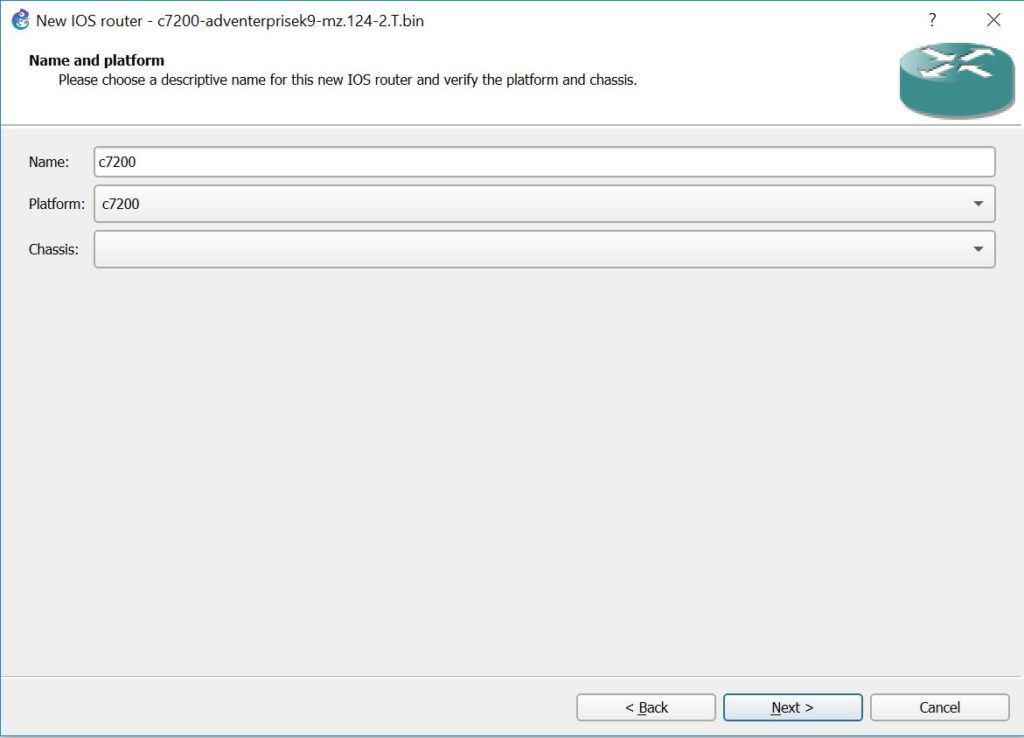
select the proper platform for the image.
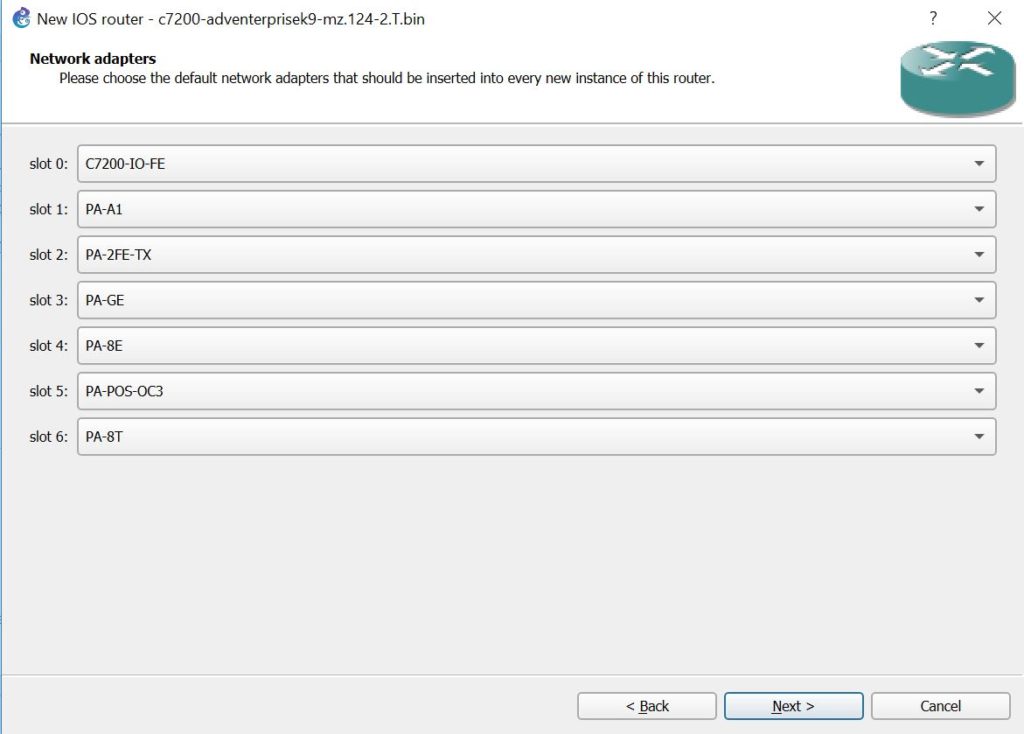
After clicking Next, here we have completed the appliance setup process.
Moreover, newly added c7200 can found in the list of routers, drag this device into the workspace and then run it, you can get the console window from its menu
Please note that now we have the device running in GNS3 but we won’t be able to reach this device from our PC, so we must create a loopback interface on PC and make connectivity to the GNS3 router.
Configuring a Loopback interface on PC to access GNS3 router
open run and type hdwwiz

Proceed with OK

Following, click next
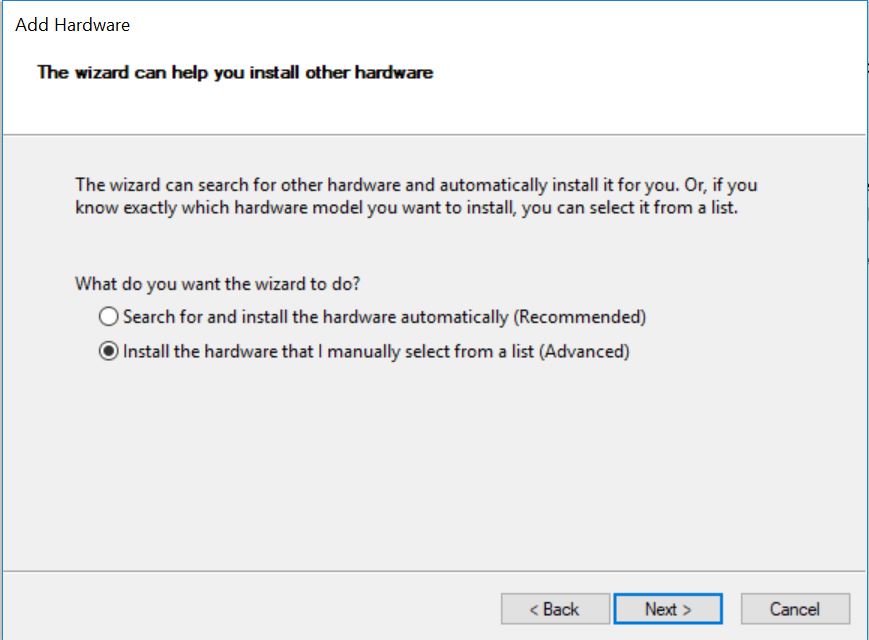
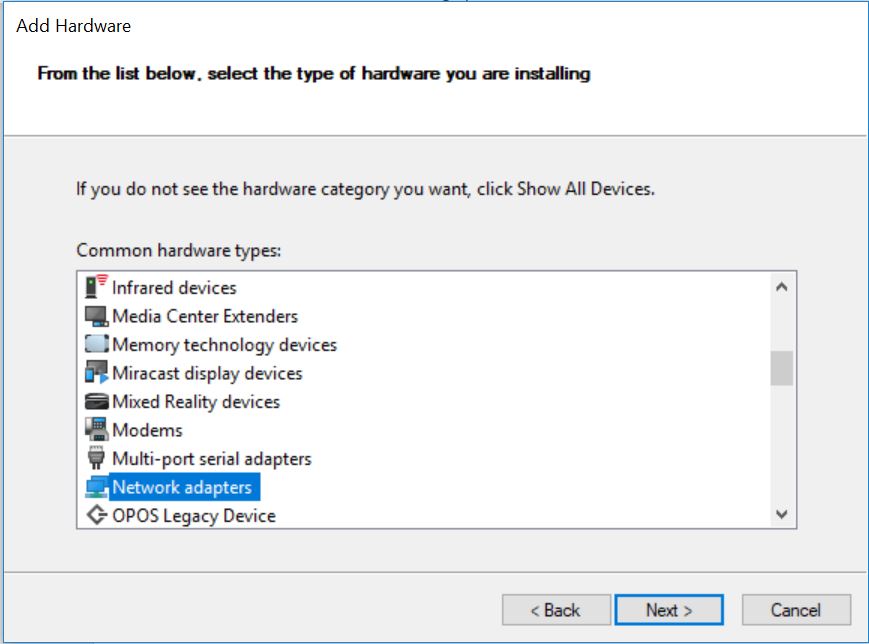
Select Network adapters
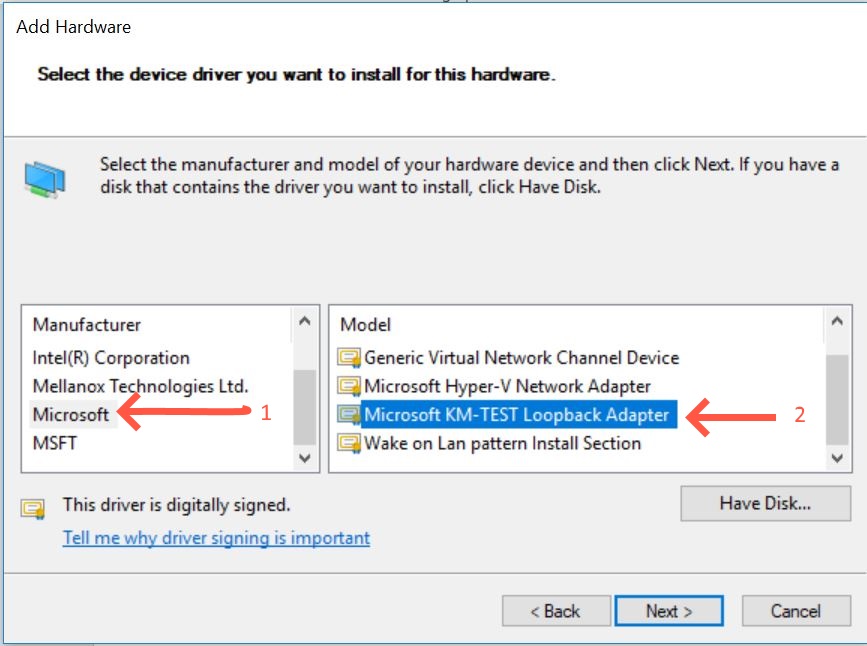
Furthermore, select Microsoft from the left window and then select Microsoft KM-TEST Loopback Adapter.
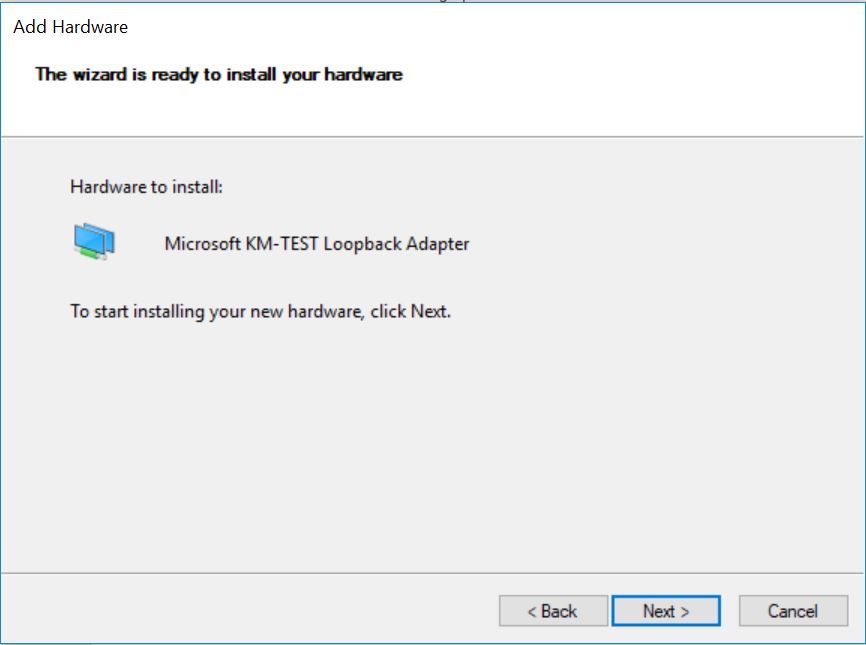
Click Finish
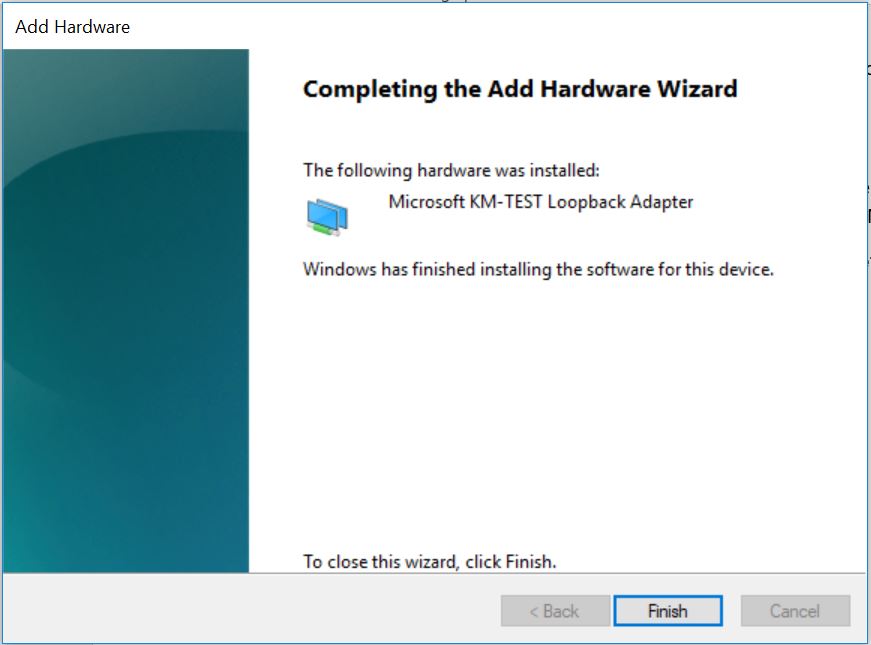
Indeed, now you can see the loopback network adaptor in windows network connections. furthermore, configure IP for the loopback network adaptor so that the GNS3 network device can connect to it.
Now we will pull this loopback network adaptor inside GNS3 and will configure a connection to it.
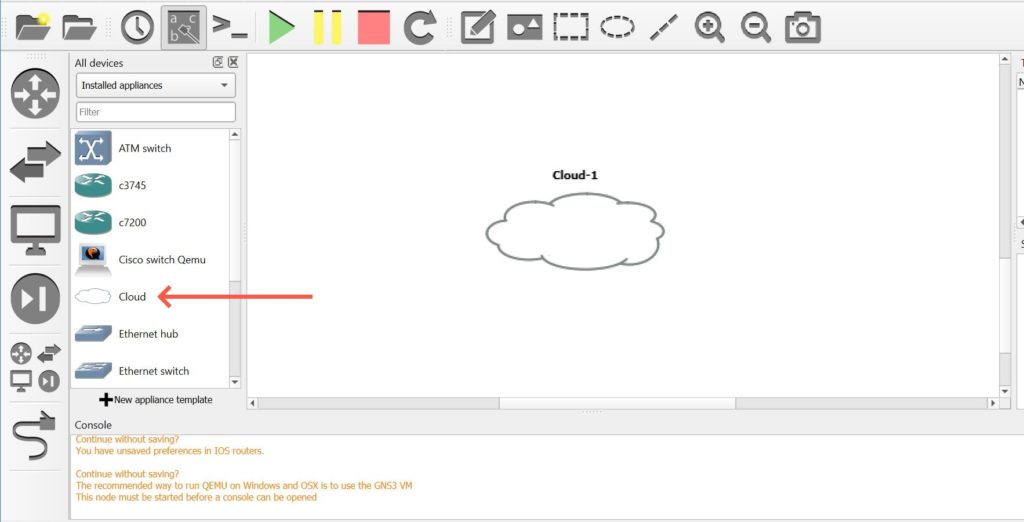
Drag and drop the “cloud” instance from “all devices” category to the workspace
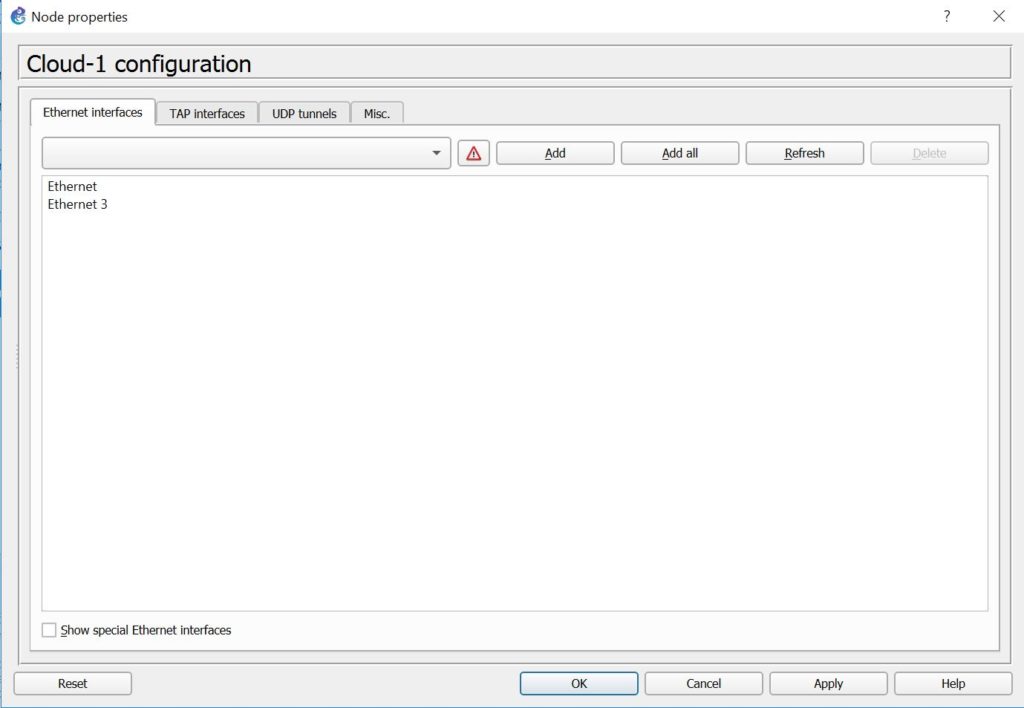
Moreover, right-click on the cloud instance and select configure – you will find the list of interfaces under the ethernet interfaces tab, here you can select the loopback interface that we have configured just before.
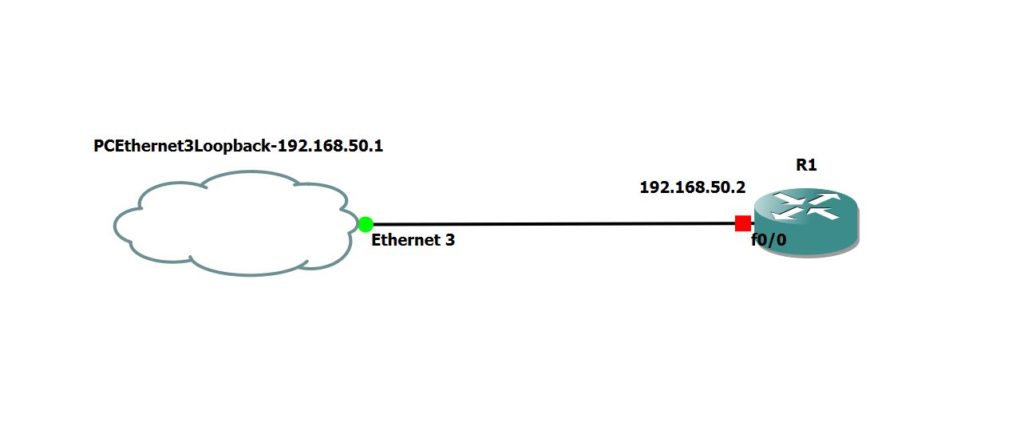
Now make a connection to each other using the link tool. Please note, here the router interface indicating red because the interface is in a shutdown state.
I have renamed the cloud instance and labeled the IP address of the interfaces for your understanding.
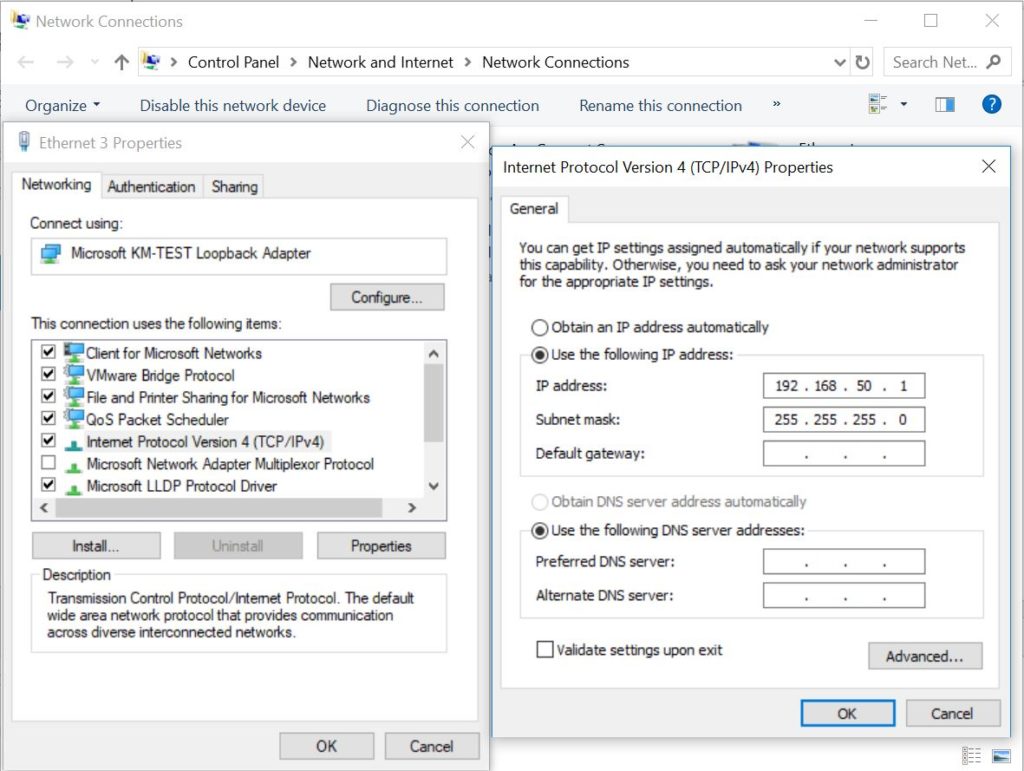
Configure the loopback interface IP address.
Verify you have network reachability to the router
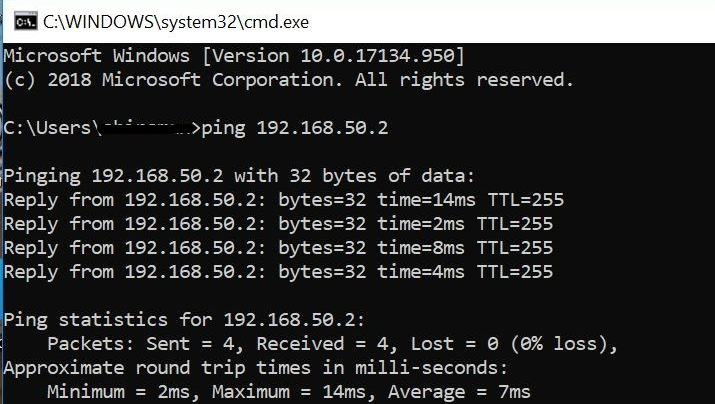
For instance, here, in my router, I have configured SSH to access the router.
Reference – http://www.mustbegeek.com/enable-ssh-in-cisco-ios-router/
Download python from – https://www.python.org/downloads/
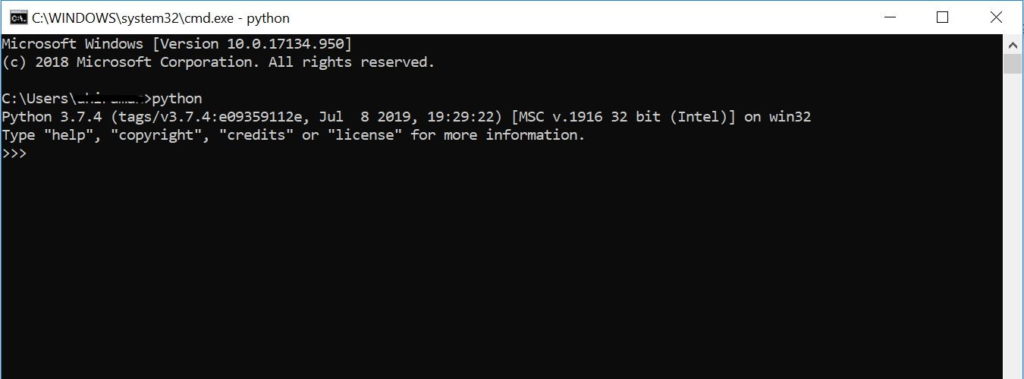
Python installation is straight forward. Make sure you set the environment variable for python, you can verify this by simply typing python in the windows command line.
Change the present working directory of windows commands line to Scripts folder of python installed files.
change command-line directory by the cd command.
cd <your directory>

Install Netmiko module using the PIP tool.
netmiko is a Python library which makes the connection to network devices via SSH.
netmiko installation command – pip install netmiko
Note: make sure you have internet connectivity
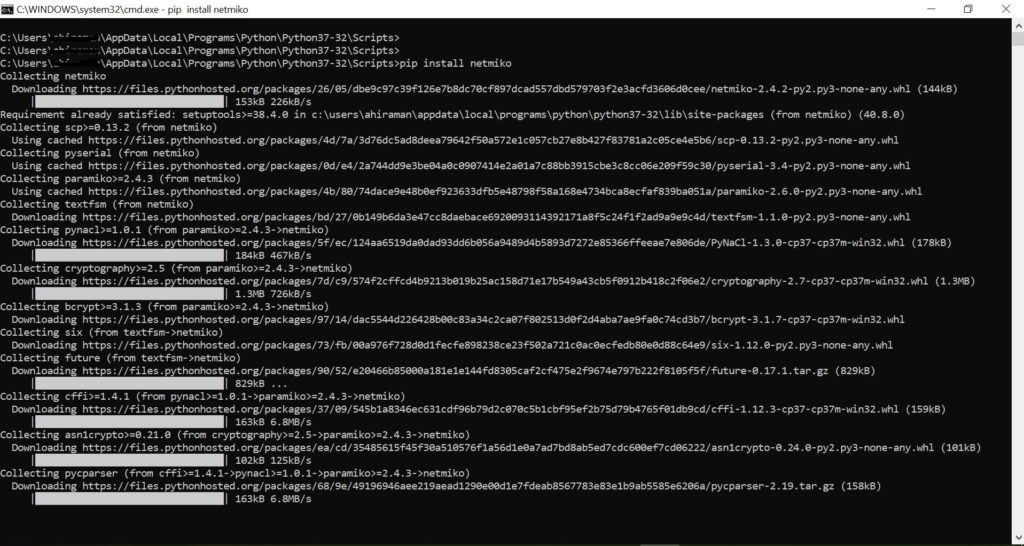
Now you can import Netmiko to your python program.
Python Network Automation first program
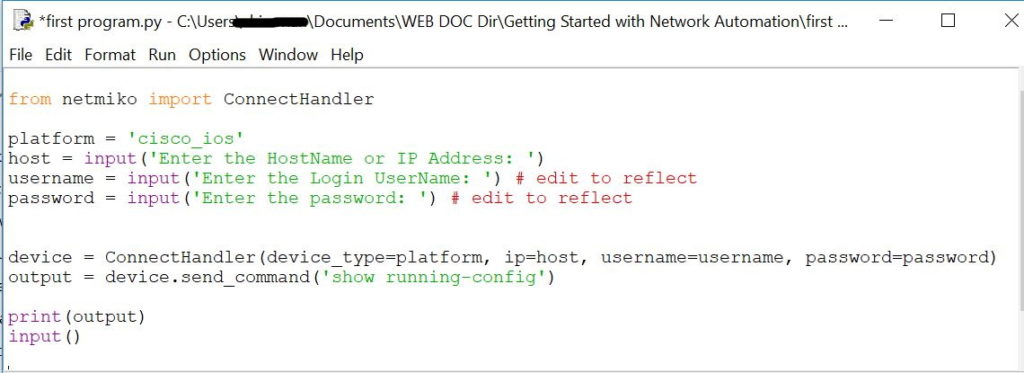
Here is the first program
from netmiko import ConnectHandler # Module which enables SSH connection
platform = ‘cisco_ios’
host = input(‘Enter the HostName or IP Address: ‘)
username = input(‘Enter the Login UserName: ‘) # edit to reflect
password = input(‘Enter the password: ‘) # edit to reflect
device = ConnectHandler(device_type=platform, ip=host, username=username, password=password)
output = device.send_command(‘show running-config’)
print(output)
input()
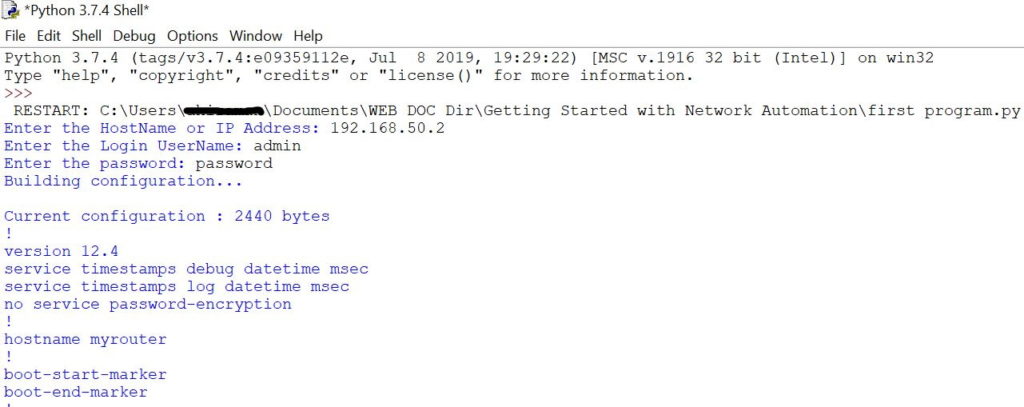
Program output – showing running configuration
Summary
In conclusion, this is a basic program, here we just got familiarized to get connected to a network device using python. We will cover more interesting automation codes in future posts.
For further reading, please visit the blog post Cisco new certification track to know more about newly published DevNet certification programs from Cisco. Happy learning

😳😳
Very informative article to get familiar with network programming
Hello. How can virtual gns3 host communicate with real-world devices through python? How to write sockets? Do you have information?
GNS3 should have interface facing to your external device, you can point your physical Eth card instead of loopback adaptor in this case.
you can import socket library in python to create a connection
Good job!
Amazing one . Well explained and helpful
Thanks Anas, that’s great explanation on Python network automation. I followed your steps, and however, I’m having trouble reaching the GNS3 router from loopback interface on PC. I configured the p2p link on 192.168.100.0/24 subnet with 192.168.100.1 (pc loopback addr) & 192.168.100.2 on the other end. PC loopback can ping itself and not able to ping the router. Ping result shows the packets are sent out from pc lookback address but received no replies.
C:\Users\Hemanth Katuri>ping 192.168.100.1
Pinging 192.168.100.1 with 32 bytes of data:
Reply from 192.168.100.1: bytes=32 time<1ms TTL=128
Reply from 192.168.100.1: bytes=32 time<1ms TTL=128
Reply from 192.168.100.1: bytes=32 time<1ms TTL=128
Reply from 192.168.100.1: bytes=32 timeping 192.168.100.2
Pinging 192.168.100.2 with 32 bytes of data:
Request timed out.
Request timed out.
Request timed out.
Request timed out.
Ping statistics for 192.168.100.2:
Packets: Sent = 4, Received = 0, Lost = 4 (100% loss),
R1#sh run int f0/0
Building configuration…
Current configuration : 86 bytes
!
interface FastEthernet0/0
ip address 192.168.100.2 255.255.255.0
duplex full
end
R1#sh ip int br
Interface IP-Address OK? Method Status Protocol
FastEthernet0/0 192.168.100.2 YES manual up up
I checked the wireshark capture and only see UDP packets being exchanged b/w both the ip add’s. I wasn’t entirely sure and what might be causing this unreachability issue even though both of them are connected on p2p link, wondering if any other parameters need to be tweaked on the pc lookback settings…..